

Gauge swatch explained simply: — this is how to do it right
|
|
Time to read 6 min
Free shipping from €79 + free returns (Germany)
Your product is in the shopping cart!
Recommended for you:
|
|
Time to read 6 min
Everything starts with the gauge swatch! Find out in this post why it is so important, how to make one correctly, and how to avoid mistakes.
You will also receive a free PDF with printable hang tags, so you will never mix up your gauge swatches again and can record all the necessary information directly.
Find out everything you need to know about gauge swatches and how to make them correctly in my post!
Things you should pay attention to:
read the gauge information for your project carefully and use the appropriate needle size
make sure to use the specified technique, such as working with two strands, in stockinette stitch, or in the pattern
wash and block your gauge swatch before measuring it
what can you do if your gauge is off
Contents
"My tip: My beautiful hang tag for your gauge swatch is quick to print—you can record all the information here."
A gauge swatch is a test piece for your finished project. You make it beforehand and use it to test whether you are using the right needle size for you, so that your project will have the correct measurements when it is finished.
Knitting is highly individual; everyone knits a little differently, perhaps a bit tighter or much looser. That is why it is so important to make a gauge swatch, to ensure that the project measurements work for you too.
If your gauge swatch is correct, your finished knitted piece will fit perfectly too—which is why the swatch is incredibly important!
Gauge information is included in every pattern. For projects such as sweaters or shirts, the swatch is particularly important because it is crucial that your knitted piece has the correct measurements and fits you properly. For other projects such as shawls or scarves, gauge may not be important for the fit, but it does affect the appearance and feel of the fabric—which is why you should always knit a swatch.
You can find the gauge information in the pattern. It is especially important to pay attention to the following points:
The right gauge swatch size
Gauge swatches are usually specified as 10 × 10 cm. I recommend adding at least one edge stitch on each side so that you can measure your swatch correctly.
Now take your yarn and the correct needle, and cast on the specified number of stitches plus 2 edge stitches.
Now knit in stockinette stitch or the specified pattern in rows until you reach at least 10 cm. Then bind off the stitches—and your gauge swatch is finished!
It is best to measure your gauge swatch once before washing it as well, so that you can properly assess and record any changes caused by washing.
In any case, you should wash your gauge swatch afterward. Make sure to wash the swatch in the same way you will wash your finished knitted piece later.
After washing, you should block your swatch and leave it to dry.
Your gauge swatch is now ready to measure!
Lay your swatch flat and measure both its width and length. Make sure not to measure all the way to the edge, since we have added an edge stitch.
Tip: To count the stitches correctly, you can use a short needle as an aid, moving from stitch to stitch and inserting it as you count.
The width is particularly important because it affects the fit and cannot be adjusted during the project. In most cases, the length is not as important, since it can easily be changed by simply adding or omitting a few rows.
Properly archiving my gauge swatches is very important to me. These little pieces are lovely keepsakes and practical tools. Since I often knit with the same yarn again, my archived gauge swatches already provide information I can refer to, so I do not always have to knit the same samples again.
I write down all the details on a hangtag, which I print and label. I have created a free PDF for you that makes it easy to label your gauge swatches and build a beautiful archive of these enchanting little samples.
This way, you have all the important information, such as the pattern, yarn, and needle size, right on your gauge swatch, and you can also record additional notes and reminders.
If your gauge does not match the specifications, it is not a problem at all. Here I will show you simple solutions so that you can still complete your dream project perfectly!
If you have too many stitches, you tend to knit more tightly and should use a larger needle. It is best to increase your needle size in 0.5 mm increments until the result is right.
If you get too few stitches, you’re knitting rather loosely and should try a smaller needle. It’s best to reduce the needle size in 0.5 mm increments until the result is right.
If you don’t want to change the needle because you really like the look of the stitches and they wouldn’t look as nice with another needle, you can also try knitting a different size.
Make sure that the gauge swatch differs by approximately the same proportion as the new size. If your gauge swatch differs by around 10%, you can knit a size that also differs by around 10%.
Remember:
You should avoid these mistakes, as they often result in inaccurate gauge swatches:
Tip: Download the free hangtag and label your swatches carefully. That way, you can refer back to them again and again and also have a beautiful keepsake.
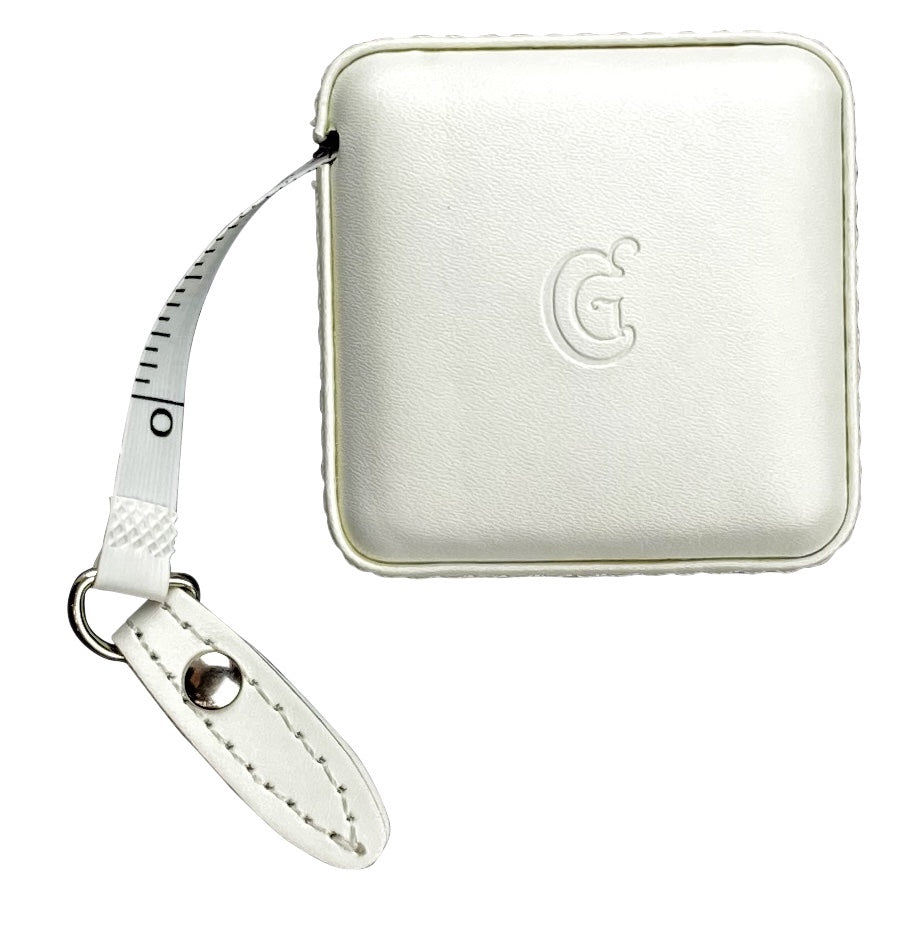
These little helpers make knitting a gauge swatch easy. These beautiful tape measures feel great in your hand and are practical, durable, and long-lasting. With the counting frames, you can determine your gauge even more easily.
Your gauge swatch is a very important part of your project: it gives you a preview, serves as a test, and gives you the confidence that your knitted piece will fit perfectly.
For a perfectly fitting dream project, it’s definitely worth knitting a beautiful gauge swatch.
If you follow my tips, making your swatch will be great fun. And if you label your swatch with my pretty hangtag, you’ll build your own little archive that you can refer back to again and again—and that will give you charming memories of your projects.
Post by Rabea
I’m Rabea, an architect by training and a passionate knitter. Since 2023, my husband Christoph and I have been devoting ourselves entirely to our online shop.


